Leaking pipes, ruptured sewer lines, and natural calamities can all cause severe water damage to your house. If your property has been damaged by water, it’s vital to determine the source and act swiftly to prevent more damage.
Dealing with water damage in the home may be frustrating, especially if it leads to other difficulties down the road. While most of these repairs require the assistance of a professional, there are a few DIY procedures you can do to help reduce the damage.
What Are the Consequences of Water Damage?

Water is necessary for life, but it also has the potential to ruin everything in its path, leaving you with a massive mess to clean up. As a homeowner, you should be aware of the places in your home that water can badly harm. Always check for damage in the following areas to be safe:
- Drywall\Plaster\Insulation
- Floor coverings with wood framing
- Pipes and electrical Appliances
- HVAC
- Water can wreak havoc on your home’s foundation and quickly rack up a considerable restoration expense if left neglected, as you can see. As a result, it’s critical to respond quickly before the damage worsens.
What Should You Think About Before Restoring Water Damage?

The first step in deciding whether to clean up the area yourself or employ water damage restoration professionals is to assess the situation and consider a few of the following factors:
- Volume of Water
If you have the right tools and a minor or moderate amount of water in your home, you can usually handle it independently. However, if the flooding is severe and refuses to go away despite your efforts, you should contact a specialist.
It may not be the best time for a DIY project if your community is recovering after a natural disaster or a massive flood and your home has sustained significant damage. Follow your local disaster relief authorities’ guidelines and leave these repairs to the professionals.
- the source of the harm
Before water damage remediation, you must first determine the water source. When you have a flooding problem in your home, there are three sorts of water to watch out for.
- Clean water:
This water does not contain harmful chemicals and is safe to handle. It comes from rain or leaking pipes. Gray water may be slightly tainted if it comes from equipment such as your dishwasher, toilet, or washing machine. You can clean this yourself if you take the necessary precautions. Blackwater is the most dangerous sort of water, and it comes from sewage or flooding from a nearby water source like a river. It frequently contains health risks and is difficult to handle.
- Level of Damage
Finally, determine the extent of the damage. While the homeowner may quickly repair minor damage, significant damage can be risky to fix without the assistance of a professional. For example, if flooding on an upper level has seeped through the floor and into the ceiling, the damage is beyond repair.
Water Damage Restoration Tips for Your Home: 5 Do-It-Yourself Ideas

Consider these water damage restoration strategies now that you’ve correctly analyzed the problem to guarantee that repairs are completed fast. It’s vital to remember that most materials start to mold after 24 hours, so there’s no time to waste!
1. Remove the plugs from the outlets
When you detect water damage in your home, the first thing you should do is unplug all appliances and electrical devices. While you may not see the extent of the water damage right now, be cautious around appliances and gas lines. Regardless of the situation, using this equipment could result in electrical shocks or even explosions.
2. Examine Mold
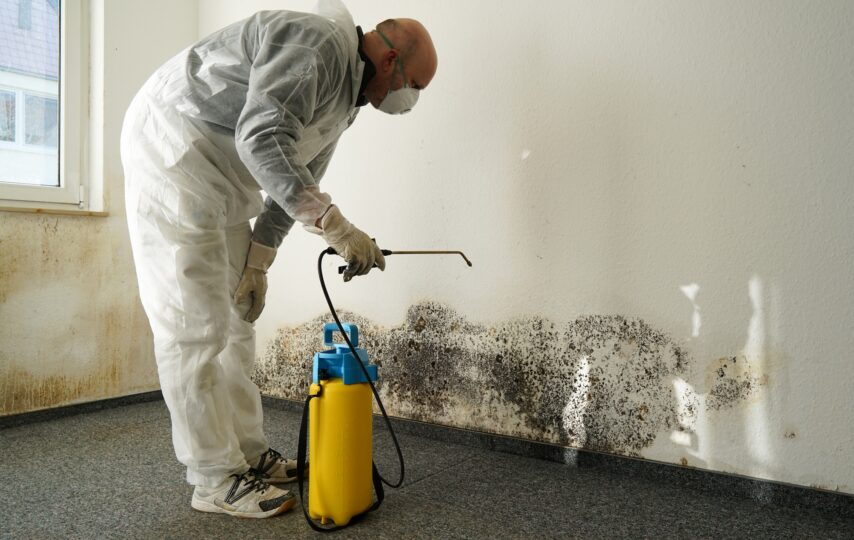
Humans are toxic to certain mold strains, posing significant health hazards. Mold can spread quickly once it infests a space, so it’s in your best interest to keep an eye on it to avoid any health risks. You can cut out the problematic area, bag it, and dispose of it right away for minor difficulties. However, if you have a significant mold infestation, you should turn off all airflow to prevent contamination and contact a mold expert. Mold can sometimes appear inside the walls or floors. Therefore it’s critical to keep an eye on the situation throughout the restoration.
3. Drain the Water
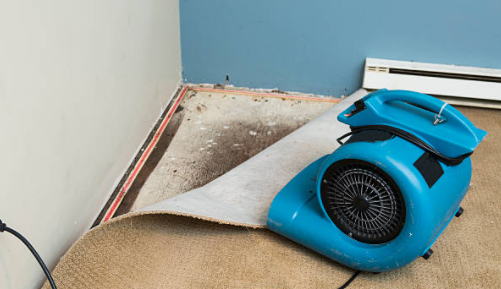
You must remove all moisture and dry out the afflicted areas before more damage develops. To circulate air and dry out the carpet, wood, and other surrounding materials, use fans or a large-capacity dehumidifier. While this won’t completely prevent mold from growing, it will help to mitigate the damage.
4. Remove any materials that have been damaged.
If your porous materials, such as insulation or carpet, become wet, you must discard them right once to avoid mildew. It’s crucial to start with the ceiling and floors. This implies that any unsealed cement, drywall, or wood must be addressed and replaced so that the home’s structure can withstand water damage repair.
5. Clean Up the Remaining Areas
Depending on the type of water you’re dealing with, it could include a lot of germs and other contaminants that could be harmful to your health. Because the water may foster the growth of mold, it’s critical to sterilize it right away. After you’ve removed the damaged items, you’ll want to cleanse the entire area before starting the repair procedure. Before continuing the repairs, spray and wipe off the surfaces with bleach to prevent mold spores from growing.
For Water Damage Restoration, Hire a Professional
While water damage can be frustrating for homeowners, with the appropriate actions, you can get your home back to normal. To avoid any health risks, it’s critical to examine the problem before pushing forward with your restoration correctly.


