
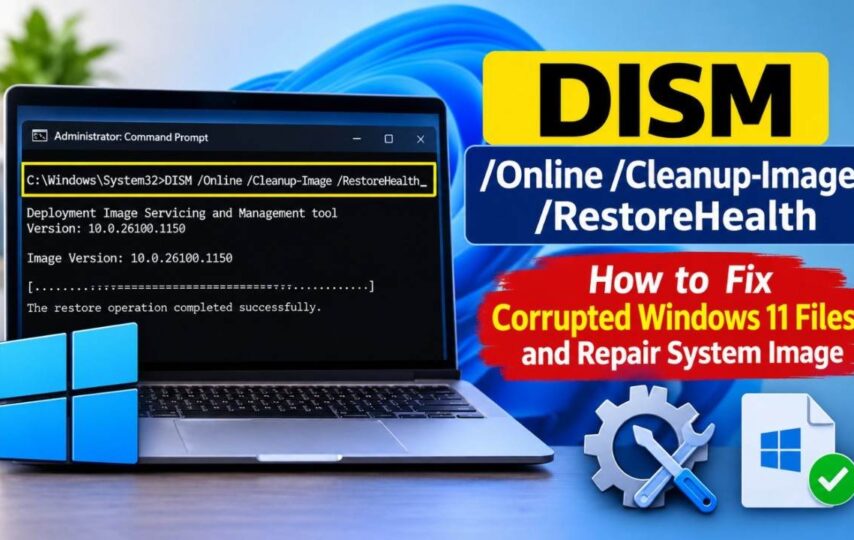

Open an admin command box/window and enter the command “DISM /Online /Cleanup-Image /RestoreHealth,” and once completed, enter “sfc /scannow.”
If there are missing or corrupted Windows files on your device, you may experience issues with features, errors, or a frozen PC. Fortunately, Windows 11 has DISM and SFC to help fix these issues without needing to re-install windows. First use DISM and then run SFC to check for any issues with Windows files.
What the command actually does
DISM stands for Deployment Image Servicing and Management. Microsoft built it to service Windows images. In the DISM /Online /Cleanup-Image /RestoreHealth command, each switch has a job.
/Online targets the Windows installation currently running. An /Image: path, by contrast, points to an offline image. /Cleanup-Image selects image cleanup and recovery operations. /RestoreHealth scans the component store for corruption and carries out repairs automatically.
By default, DISM gets replacement files through Windows Update, so the PC needs an internet connection. DISM repairs the component store that SFC uses as its source for good copies. SFC then checks and repairs individual protected system files. That is why the order matters.
When you should run it
Run the repair when SFC reports, “Windows Resource Protection found corrupt files but was unable to fix some of them.” It is also worth trying when Windows features behave oddly, errors appear, or the system freezes unexpectedly. Microsoft’s own system-file repair instructions put DISM first and SFC second for Windows 10 and Windows 11.
How to run DISM RestoreHealth on Windows 11
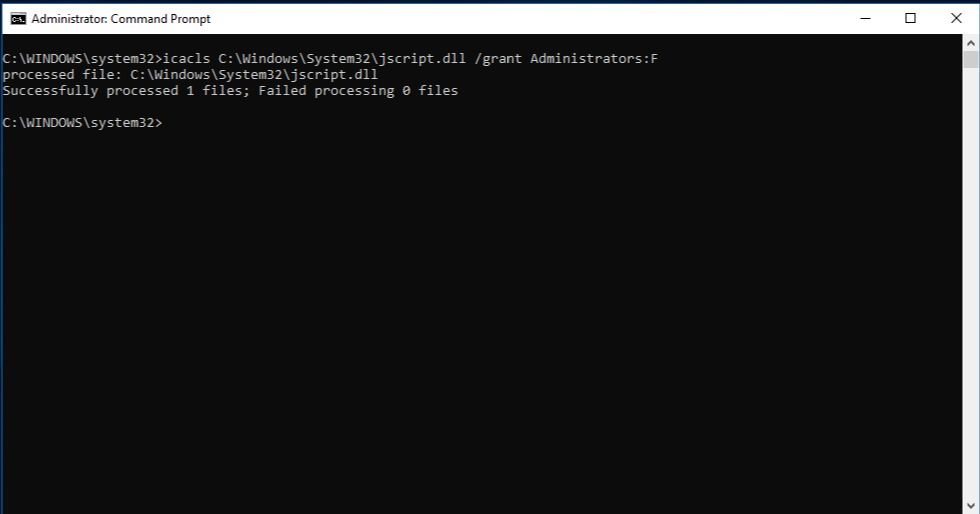
- Search for “cmd” in the Start menu. Right-click Command Prompt and select “Run as administrator”. Approve the User Account Control prompt. An elevated Windows Terminal or PowerShell window works too.
- For an optional quick check, enter:
DISM /Online /Cleanup-Image /CheckHealth
This checks whether Windows has already flagged the image as corrupted and whether it can be repaired. It does not make repairs.
3. You can run a deeper scan as well:
DISM /Online /Cleanup-Image /ScanHealth
This scans the component store for corruption. It can take several minutes, but it does not repair the image.
4. Start the repair:
DISM /Online /Cleanup-Image /RestoreHealth
This scan also attempts to fix the corruption it finds.
5. Wait for it to finish. Microsoft says the process may take several minutes. A successful run displays, “The restore operation completed successfully.” Do not close the window while it works.
6. In the same administrator window, run:
sfc /scannow
Microsoft warns that you should keep the window open until verification reaches 100%.
7. Restart the PC after SFC finishes.
CheckHealth vs ScanHealth vs RestoreHealth
These three options inspect the same Windows image, but they do different jobs. The first two check its condition. Only the last one attempts a repair.
| Option | What it does | Repairs? |
| /CheckHealth | Checks whether the image has already been flagged as corrupted and whether it can be repaired | No |
| /ScanHealth | Scans the component store for corruption. Takes several minutes | No |
| /RestoreHealth | Scans for corruption and repairs it automatically | Yes |
Fixing error 0x800f081f “The source files could not be found”
The 0x800f081f message means DISM could not find clean replacement files. Windows Update may be unreachable or its repair source may be broken. A related message, 0x800f0906, means the source files could not be downloaded.
You can point DISM to a local source instead. Download a Windows 11 ISO from Microsoft’s website, then right-click the file and choose “Mount”. Note the drive letter assigned to it. The example below uses E:.
First, find the index number for your installed Windows edition:
dism /Get-WimInfo /WimFile:E:\sources\install.wim
Then use the matching index in the repair command:
DISM /Online /Cleanup-Image /RestoreHealth /Source:wim:E:\sources\install.wim:6 /LimitAccess
Replace 6 with your edition’s actual index. Do not assume the example number matches your PC. The /LimitAccess switch prevents DISM from contacting Windows Update, forcing it to use the local source. If the ISO contains install.esd instead of install.wim, change the path to .esd and use the esd: source prefix.
If DISM and SFC both come up empty
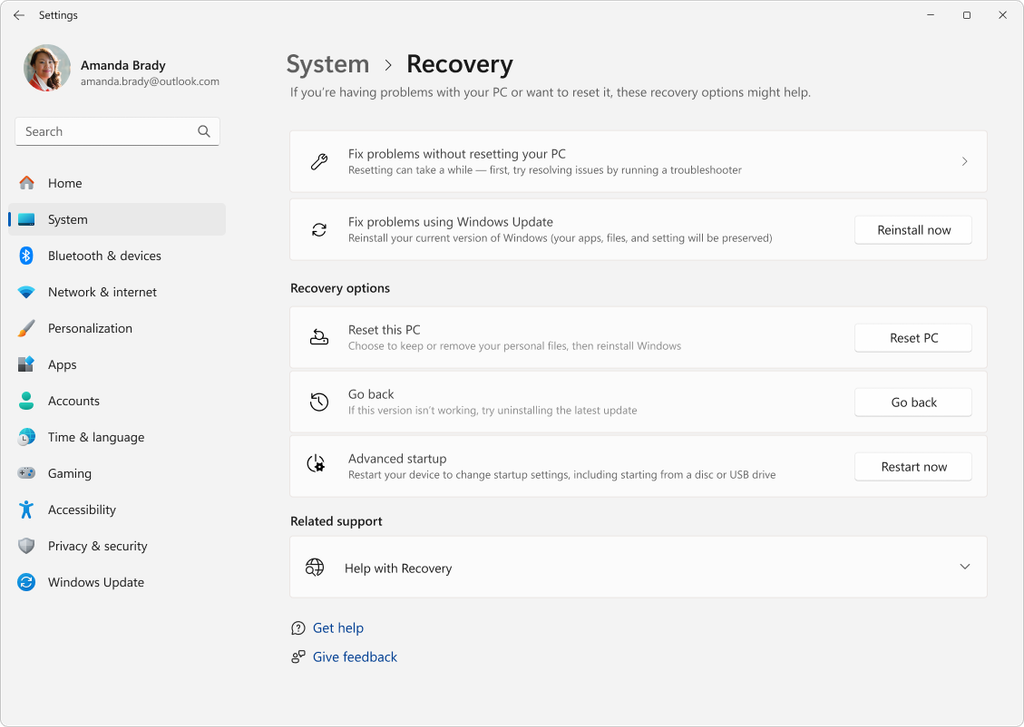
When both tools fail to repair the problem, Windows 11 has another option. Open Settings > System > Recovery, then select “Fix problems using Windows Update” and choose “Reinstall now”. This reinstalls the same Windows version and repairs system files and components while keeping apps, files, and settings. Keep the PC plugged in and connected to the internet. Managed work or school PCs may not offer this option.
Conclusion
You might think that you’d have to be an IT professional to run this command in your server room, but DISM is integrated within windows, making it very accessible for the average user. Simply run DISM (and then SFC) from the command prompt and restart the system.
While there is a small amount of specific instruction here, it is very quick and efficient compared to having to use the installation discs whenever issues arise with Windows.
FAQs
1. How long does DISM RestoreHealth take?
Microsoft says it may take “several minutes”. In Microsoft Q&A discussions, users report that the progress bar can sit at one figure, such as 62.3%, for a long time. Leave the window open and let the process continue.
2. Can I run it in PowerShell?
Yes. The same DISM command works in an elevated PowerShell or Windows Terminal window. Open the shell with administrator rights first. PowerShell also offers an equivalent command:
Repair-WindowsImage -Online -RestoreHealth
You can use the same switches in either shell.
3. Where is the DISM log file?
DISM records its activity in C:\Windows\Logs\DISM\dism.log. Check that file when a repair fails. System File Checker keeps its log separately at C:\Windows\Logs\CBS\CBS.log. The two logs record different parts of the repair process.
4. What does “The restore operation completed successfully” mean?
It means DISM repaired the component store. Run sfc /scannow next. SFC can then use the repaired store to replace or fix individual protected Windows system files. This second check handles the protected files that rely on the repaired store.