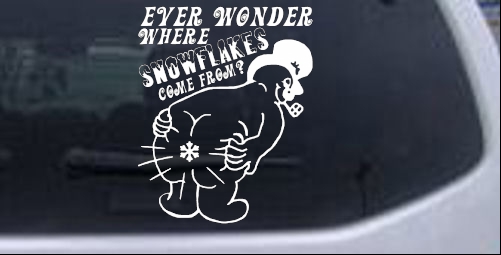
Getting a custom-designed sticker can surely help your vehicle stand out in the crowd. For business owners, it is an ideal way to advertise your brand. Car stickers are also ideal for supporting a social cause, voice an opinion, share your belief, support your sporting team, cheer for your pollical party, and the list goes endless.
However, many people hesitate to install car stickers by thinking it may take a lot of time to take your vehicle on to a car décor shop, and the fear is also there whether it will damage your car. However, in reality, these decals and stickers are made in such a way to fix well onto a vehicle in a matter of minutes, and the adhesive is also specially made not to cause damage to car paint. If you are confident, you may apply car stickers by yourself.
There are a few things to pay attention to while installing car stickers to enjoy a fantastic result. Let us check it out.
1. Right positioning of the sticker
Before applying the decal, it is important to consider the right spot on your car where you can ideally place it. You may consider bumpers, hoods, window glass, doors, and any other place where it is visible. You may do an assessment of it to see the pros and cons of applying it to different parts of the car and choose the ideal spot. You need to consider the dimensions of the location also to ensure a proper fit.
2. Place the sticker on and check measurements
Without removing the sticker, just hold the decal against the part where you want to fix it. You may then take the measurements as the width, height, and length, and the proportionate distance from the adjacent edges to get a centralized positioning. This evaluation is necessary to figure out the proper positioning of the decal. There are no strict measurement rules to be followed here, but if you are placing two similar car stickers on either side, you need to be very careful about getting perfect measurements to get these aligned well. Once you identified the right spot, mark the edges with masking tape.
3. Clean the spot
First, you need to clean the designated area well using mild cleaner, water, and a soft cloth. You may alternatively use rubbing alcohol if available, which will ensure proper cleaning and also will evaporate by not leaving any residue.
4. Peel off the sticker backing slowly and apply
Once cleaning is done and you have given enough time to get the area dried, it is time to go ahead with fixing the actual sticker. Based on the size of the decal, you may choose between removing the entire backing or starting from one side to proceed to the other. For example, if the sticker is larger than your forearm, then you may better peel off one portion of the sticker at a time and apply it slowly. If the sticker is small, you may remove the backing fully and directly apply it. Anyways, make sure it is not tangled. Once it is applied well, you may use a credit card or a squeezer to remove any air bubbles or tangling.
Following these steps will help you apply a car sticker on your own, but if you are not confident about doing it all by yourself, it is ideal for getting the assistance of experienced handymen for this.


