As a society, we have had to try things we never imagined we ever would over the past year or so, especially in the beauty and grooming sector. The Covid-19 pandemic led to the closure of beauty salons, leaving people with no option but to shape their own brows, do their own nails, and cut their own hair, including going full Brazilian.
If you’ve ever had a Brazilian wax, you know it’s one of the most physically painful experiences, regardless of if you’re straddling a stool in your bathroom or stretched at a studio.
Naturally, self-inflicted pain from hot wax is not something most of us look forward to. But the process is doable thanks to best waxing kit and a bit of advice on making the process as smooth and painless as possible.
That said, let’s walk you through four steps you should follow when doing a Brazilian wax at home.
1. Exfoliate and Cleanse the Area
The first step is to make sure your body is ready for the waxing process. This will involve exfoliating and cleansing the area at least 24 hours before you plan to wax. Exfoliating will remove dead skin and lift short hairs that may be covered beneath the dead skin. Feel free to use essential oils to moisturize and prep the hair for removal.
After the 24 hours are over, clean the area to remove the essential oils or moisturizers you used the day before. Some waxing kits come with cleansing wipes, but a warm shower can also help.
2. Prepare the Wax
There are different ways to prep the wax, depending on your kit. As such, try to read the instructions first before doing anything else.
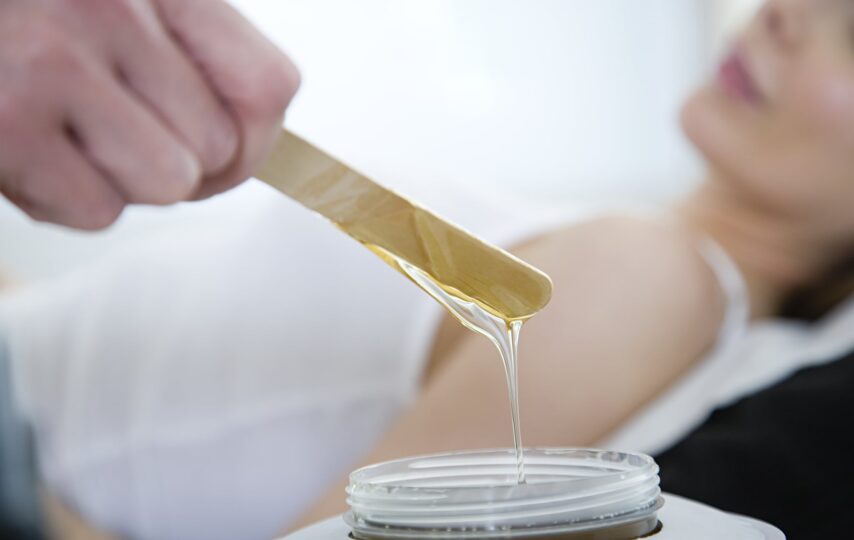
Some wax kits come prepared and can be applied directly, while others require heating and application with a spatula. If your kit requires heating, test the temperature of the wax by applying a dash of it on your wrist. Make sure it’s warm to avoid burning yourself.
3. Apply the Wax
Find a position you’re comfortable with from where you can clearly see what you’re doing down there. Using a mirror will help with visibility.
Apply a thin layer following the direction your hair is growing. Work on a tiny area at a time to make sure you’re catching all the hair.
Start from the outside as you work your way into more sensitive areas. This will make removal a lot easier and less painful, but only slightly. Also, avoid waxing over the same area more than twice as it can lead to skin sensitivity, or worse, skin removal.
4. Pull off the Wax
We’ve now come to the painful part of the process, so brace yourself. Relax and take deep breaths.
Remove the wax in the opposite direction your hair is growing. If your hair grows downward, swirl the wax in a downward motion and pull up the strip. Proceed to do so until you’re done removing all the wax.
Use the Best Waxing Kit for Optimal Results
Now that you’ve completed your first wax, the next time will be a lot easier and less painful. Remember, the skin in your pubic region is very sensitive and thin, so make sure you use the best waxing kit. Some kits come with post-wax aftercare products that soothe the skin, so this is something you should consider.


